


This one day makeover Colour Rescue is all about what to do with a very high wall with a TV screen on a low stand. Hint: it’s all about oversized art and a gallery wall! It’s art… as wallpaper.
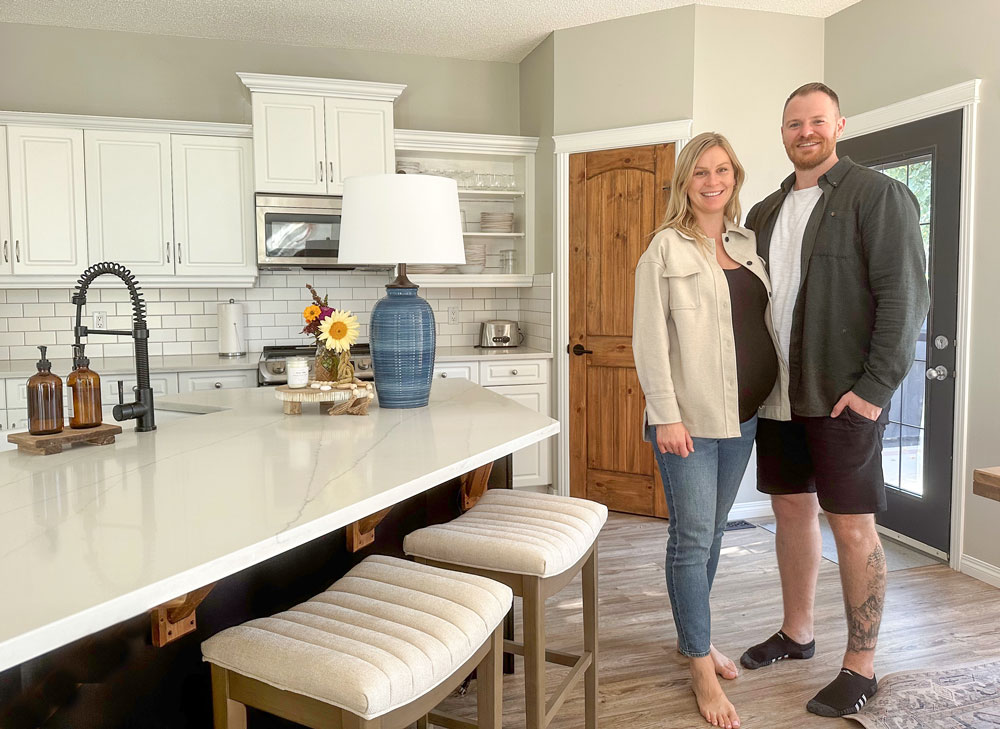
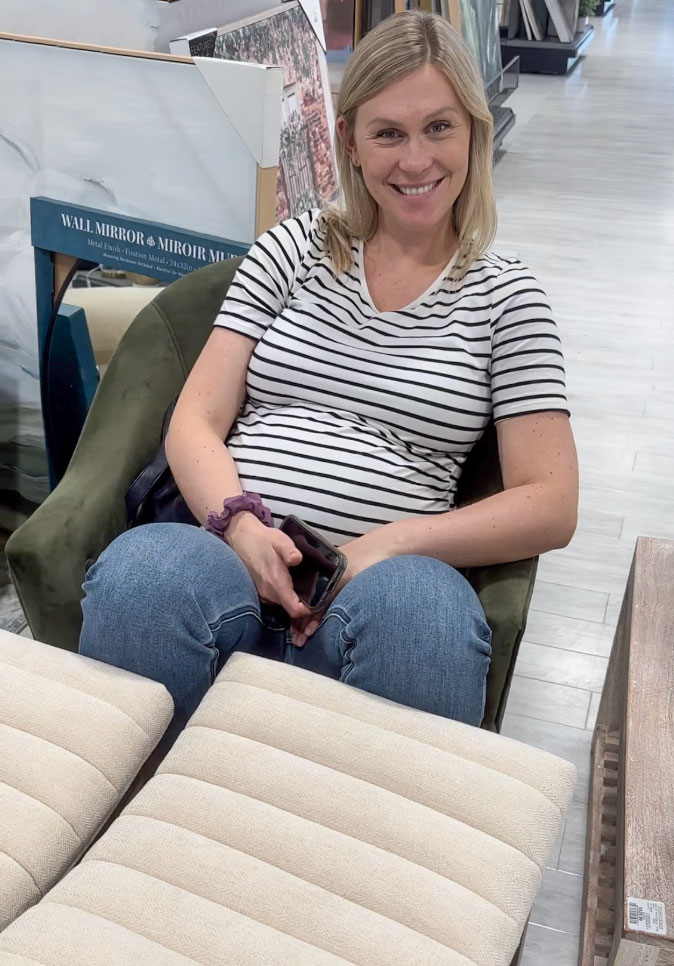
This is my second cousin Miia and her husband Colin (above). They are both physiotherapists in Edmonton and they are due in October to have their first baby!

Anita Junttila, Elizabeth Jacobs, Hellen Junttila (Our Mom) Miia James, (her Mom) Lea Reardon, Maria Killam, Lea Junttila
All my sisters arrived for the baby shower (I wore pink because it’s a baby girl). I arrived a few days early to do some one day makeovers. See the first one here and the second one here.
Here are some sneak peaks:
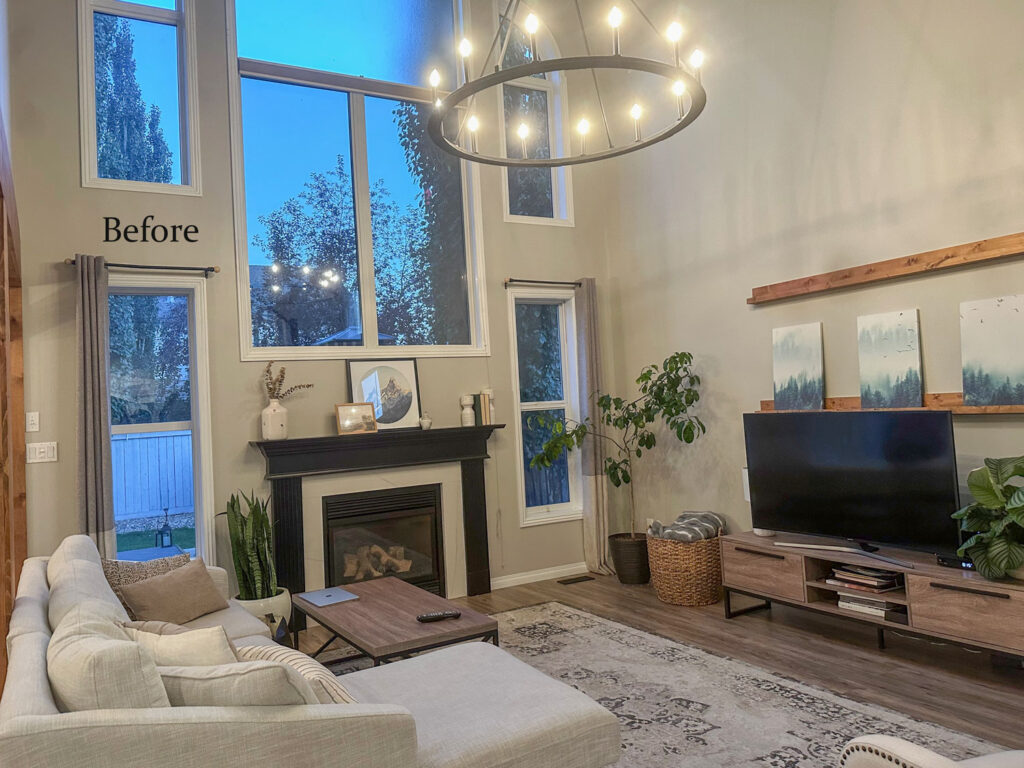
Here’s the before of Miia and James living room (below).
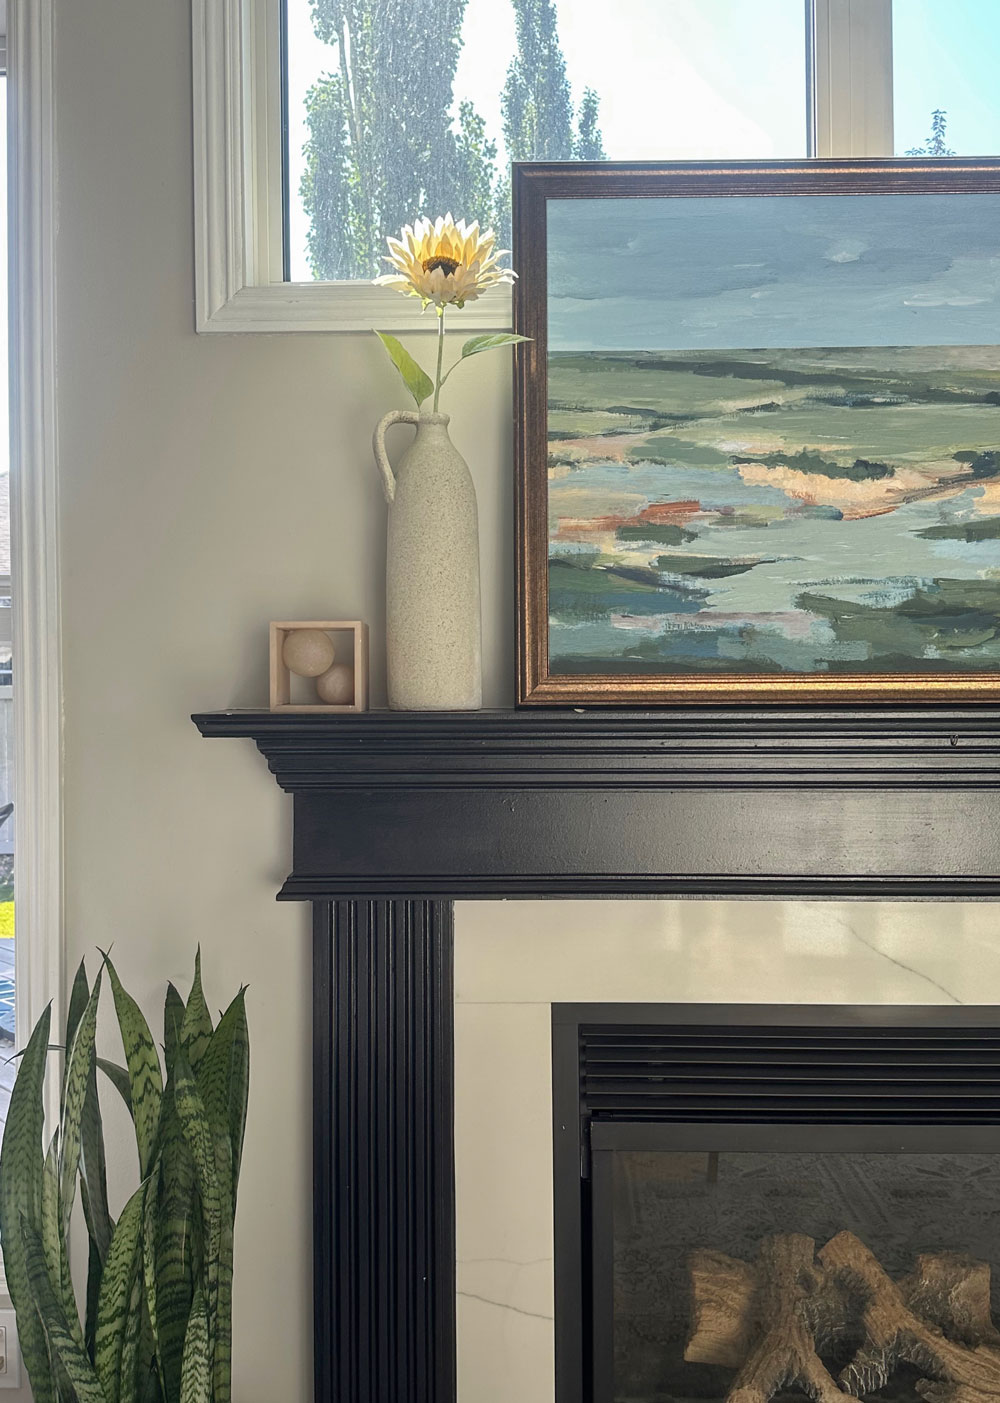
Layering art in front of windows
You might think (as Miia did) that the art above the mantel should stay small and kept below the window but having a small piece of art above it (below) just drew attention to the top of the patio cover outside and the roof behind it.
Adding the taller piece of art (above) drew the eye immediately to the tall aspens in their beautiful backyard.
Now with the addition of the moody greens and blues we added to this room (scroll down for the second sneak peek), along with the tall trees outside, we are transported straight to Italy.
Some very common decorating mistakes
Notice the lack of lamps and the flat, glary, empty feeling of the overhead lighting.
Also the curtains. Installed dead wrong (they were still there from the previous homeowners, Colin and Miia recently moved into this house). However, this is a common mistake people make, see last weeks colour rescue that was focused on curtains here.
I fixed both problems immediately.
Also, the chandelier needs shades stat.
However, the way we lit the room in the end with lamps, this light fixture never needs to be turned on again. It’s works very well as a decoration.

If you have a light fixture that looks like this, you can buy them here.
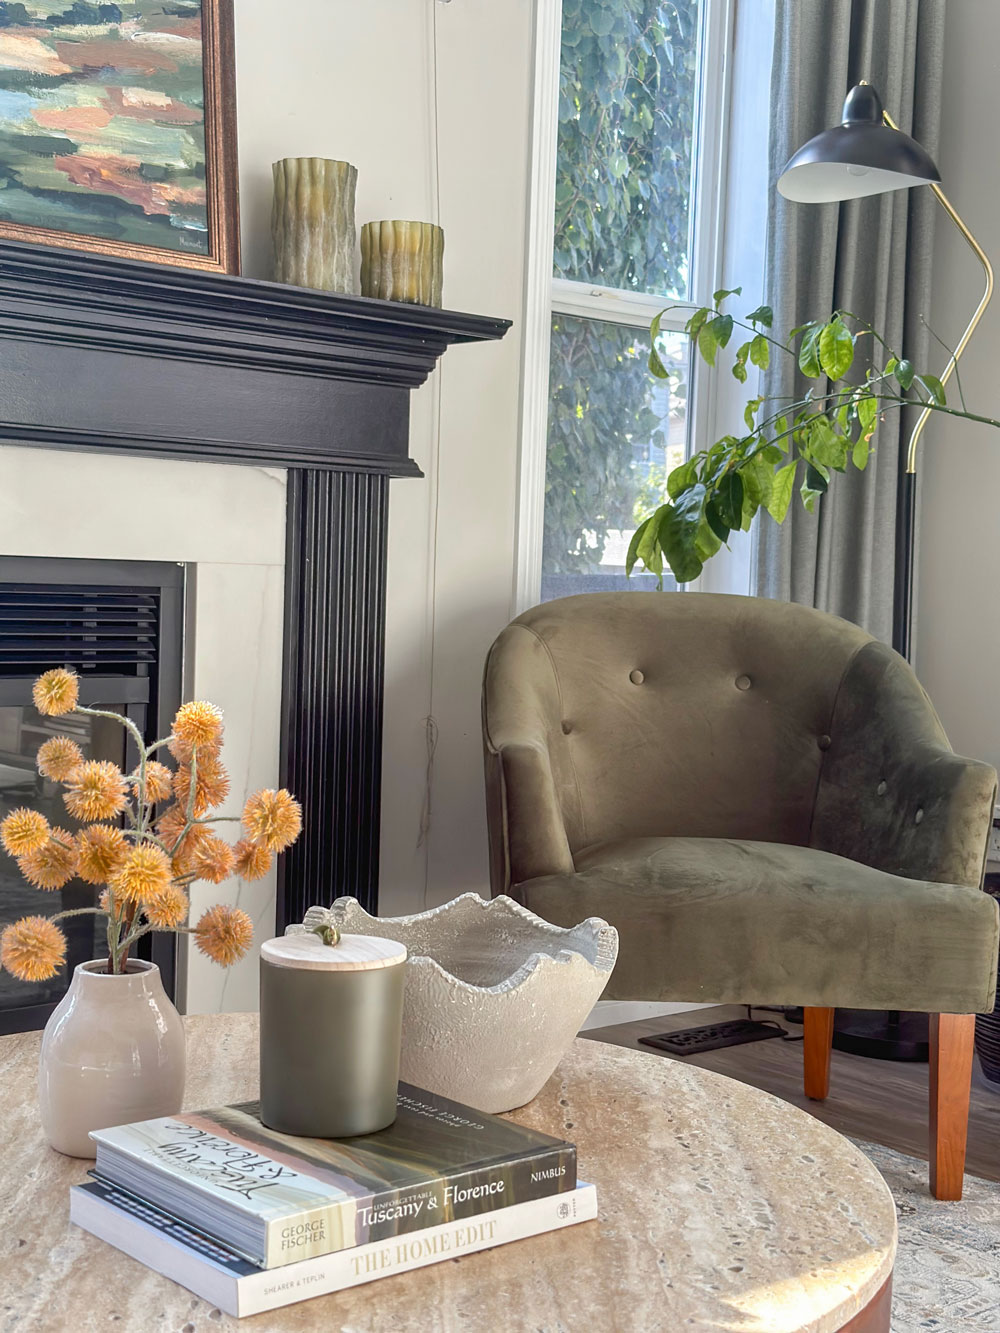
Here’a sneak peak of the vignette on the fabulous travertine coffee table we found.
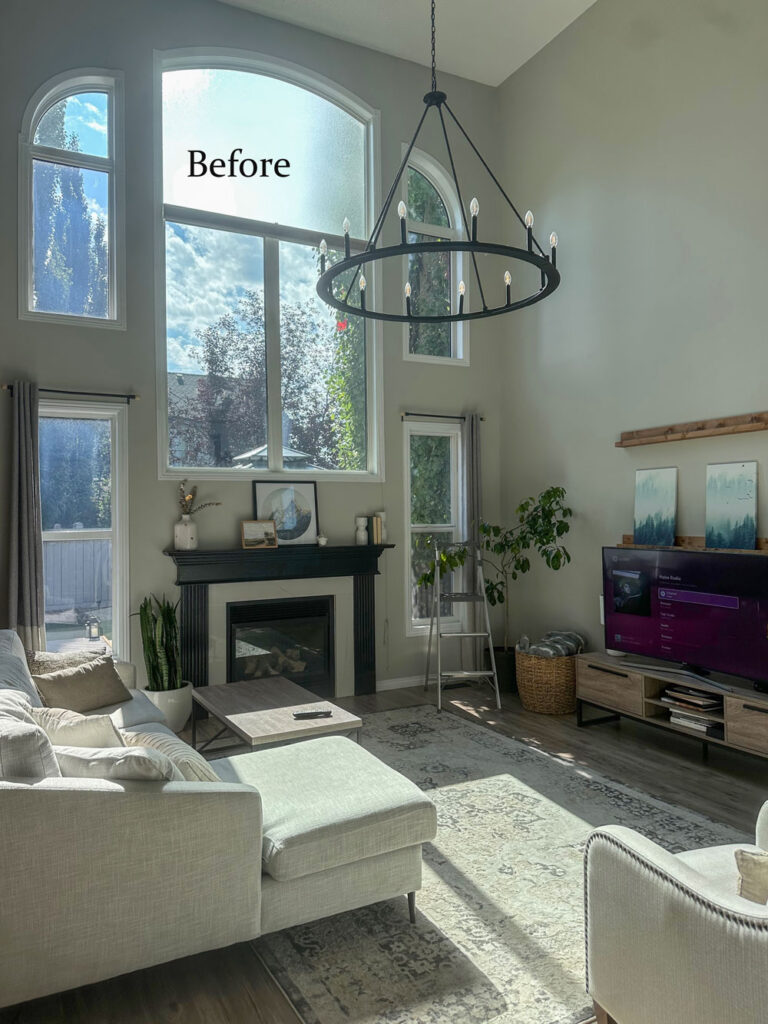
If you have tall walls like this, the only way to make them work is to go UP with artwork as we did.
Don’t forget to reserve a budget for decorating
The total cost of this weeks makeover was $3980. A little more than we’ve been averaging, because we needed some furniture as well. We purchased a coffee table, two end tables, the accent chair, bigger artwork, as well as three new counter stools in the kitchen.
However the rooms are now finished and all we have left to do is enjoy them. Worth every penny.
Most people don’t buy new decor because they don’t know what to buy.
And it’s all too common to blow the home budget on renovations and unnecessary upgrades like crown moulding and stone without reserving some funds for decorating to finish your room.
My philosophy is, if you have the good fortune to have a decorator aunt in the family, you allow her to just get it done. Now, you can stop wandering around home decor stores wondering what to buy to make your house feel like a home.
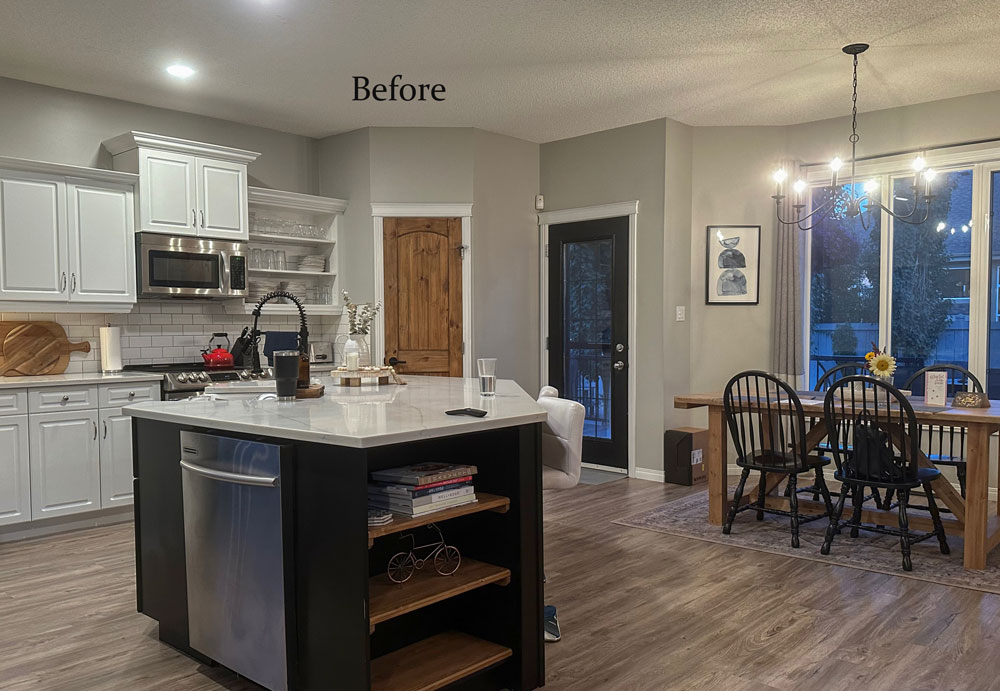
Here’s the kitchen before (above)
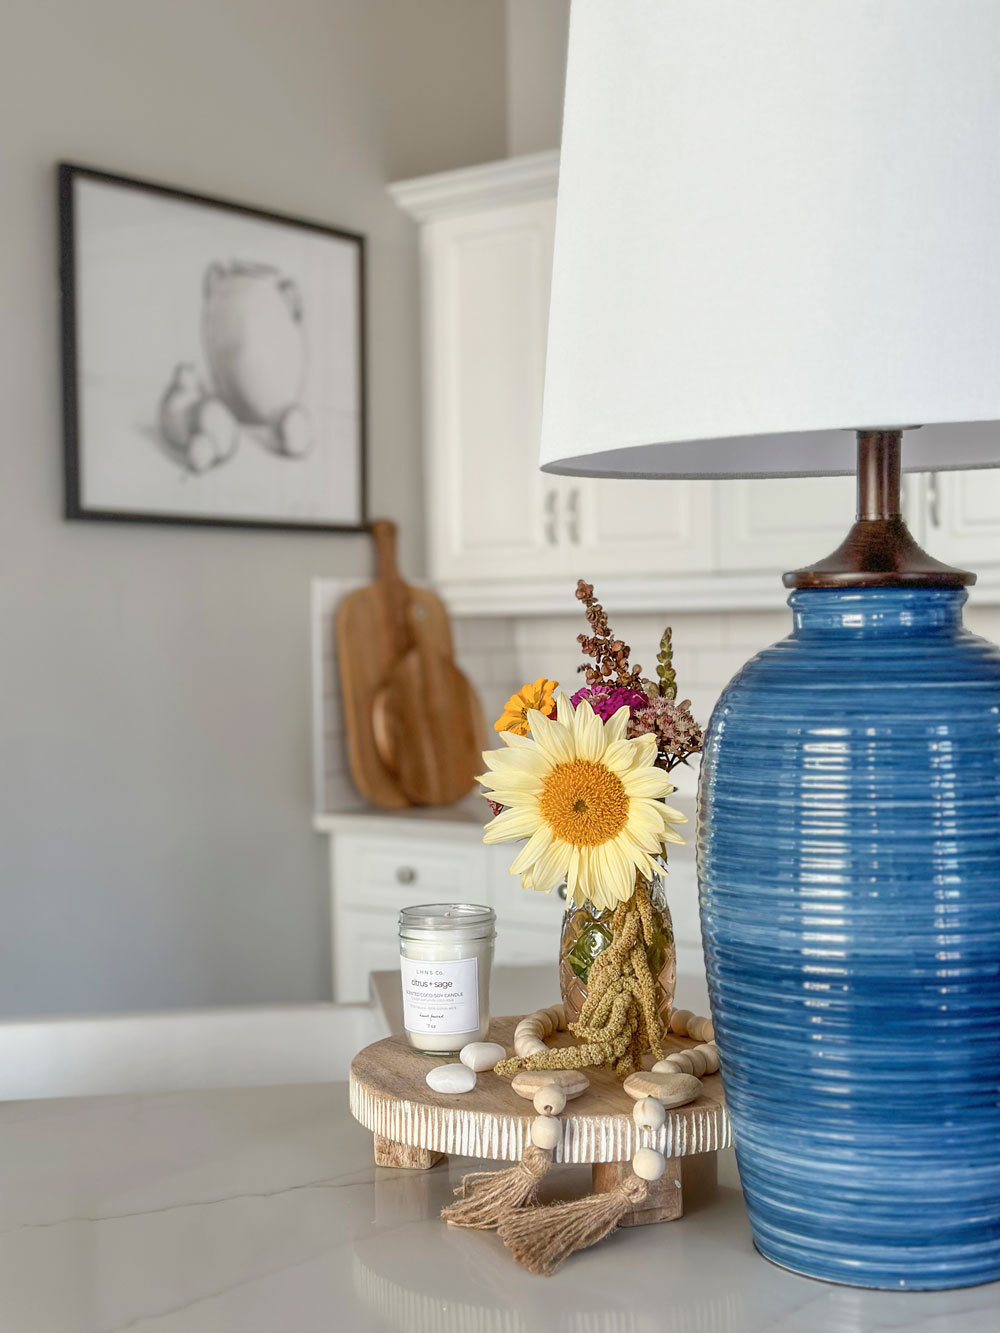
And of course I found a spot for a lamp in the kitchen
Styling for tall walls with high ceilings
Take a closer look at this amazing transformation in this week’s Colour Rescue.
Yes, of course.
However, this is a new couple on a budget, especially now as this new Mom will be on maternity leave very soon.
Please remember Miia will be reading the comments when you post them! Always be kind.
Related posts:
Elevate Off-the-Shelf Curtains with this Installation Trick
Colour Rescue: Create Styling Magic
Transform your Room with One Trip to the Store

Love it! They have a beautiful house and I love how this made it their own. I’m already tired of the plain white & black modern farmhouse aesthetic so this is a great tutorial.
One question–Maria, could you talk about how to balance hanging different sized art? I would have thought they need one more piece of art in the upper right (or that the upper right piece with the medium matt and mini picture needed to be a bit of a larger piece) so that the upper right and left corners were roughly equally filled in.
What a difference! It looked good before and really great after. What a beautiful couple and how lucky to have a talented designer Aunt and entire family to pitch in and help. Maria, I love your Mom and sisters and all the family gatherings you have. Congratulations Colin and Maii with your soon to be new daughter!
These transformations you do of “nice” rooms to showstoppers is amazing. I have to keep stopping the videos to have a closer look at the before and afters and take note of all the small touches that make such a huge difference.
Is the lamp on the island battery operated? I’d love to add a lamp to my island but can’t deal with the wire.
Love these before and after lessons Maria! Thank you!
Gorgeous! Like you waved a wand and everything transformed with grace, creativity, color, and comfort. All the textures, curves, and lines harmonize. So much fun to watch.
Thank you, and congratulations to the sweet young family.
Great transformation! It feels so warm and welcoming. Wishing the soon to be parents a safe delivery and congratulations on this new adventure!
Wow. They had a good base and you elevated it! Lovely home. Kind of makes me wish you were my cousin!! Love how everyone pitched in.
I love the use of art! I am an artist myself so I find it difficult to actually buy art for my own home, especially big box art. But I don’t have time to paint things for my kids homes so I definitely try to get them to buy art to warm up a home. The only thing I would say is I actually like the overhead lighting piece, and yes shades will help, but a dimmer switch would also work well so it just becomes accent lighting. I have a similar but larger piece in my great room vaulted ceiling and I love the soft glow of light it emits in the room when I have it just barely on, especially at dawn. It’s like candlelight to me.
What a beautiful couple! And how lucky they are to have such a supportive family. I love what you did, Maria, the transformation is amazing. And I’m with you — I couldn’t help but play the When Harry Met Sally scene about the “Roy Rogers wagon wheel coffee table” scene in my head — for the chandelier!
Such a lovely couple and a beautiful transformation, Maria. Thank you for sharing this, I always learn so much!
That tall wall is absolutely stunning now! This is my favorite one of this series thus far because I love blues and greens and incorporating nature in the art. It’s all so very cozy and soothing. I had to hit pause several times to take it all in. And I too want that bird print!
The gallery wall is fantastic! That whole room is beautiful! Did shades get added to the chandelier? I would’ve like to have seen that.
This video was harder to track the changes. The before/after angles weren’t consistent and there was lots of movement and faster changes between frames. I had to stop the video so I could really see what had changed. Don’t let the video editing get in the way of us being able to appreciate the transformation.
Fantastic advice (again)! With this post in mind, what would you do in a kitchen in which the ceilings are 25’ high with a slant, since it creates a 15’ void above a long wall of kitchen cabinets? I would add decorative elements but what a nightmare to dust and deal with and the inevitable cobwebs that would be! Even worse, the tops of the kitchen cabinets may be seen from the second level. Any practical ideas? Thanks Maria!
Timeless and classic! Beautiful art decor! Love the way you put art collections together. Thanks for continuing to demonstrate how to decorate walls! Often I look online at Minted art for ideas or Pottery Barn, however there’s not a lot of guidance for putting art pieces together. Your combination of traditional and abstract art is a style I would like try in my home…
Great transformation to a wonderfully cozy space. I love the way this couple just trusted you to work your magic.
Another beautiful transformation! Best wishes to Mia and Colin and their growing family. Enjoy your beautiful space!
Oh Maria you and your designer did it again. The home is now divine and so cozy. Thanks for sharing ❤️
They are the cutest!! This was so much fun to watch Maria. I actually heard myself gasp in amazement at the transformation that occurred on that wall! Lol. The entire makeover looked like it was such a blast. And it came out so beautifully. Amazing job everyone. Best wishes to the happy couple and the plus one that is soon to make an appearance. Really inspiring these redos are.
Brilliant! So timely too as I had wanted to do a gallery wall on my 15’x16′ wall. I wish I could send a photo of the finished result.
Thanks for making me smile:)
Very nice! I noticed in a few videos where you create a gallery wall around a TV, you hang the piece above the TV so that an inch or two of the piece fall below the top of the TV. I’m assuming that is intentional but can you explain the reasoning? Thanks!
Because it looks better to have the art layered behind the TV. Maria
I would love a video on either gallery wall or “art as wallpaper” and the how and why of how you figured out layout and spacing. This one does not seem to follow usual rules of centering at 57″-60″ (US inches) at eye level because it’s going up the entire wall. So how did you figure the “center line”. How to decided how much space kept it connected but not too close?
Why hanging it behind stuff (like the TV) makes it look better when you normally go above a furniture item? What other items should you go behind?
This is one of my favorite posts and makeovers and I love the end look with that art. I have 18′ ceilings in my tiny tiny dining room (not used a formal dining room, but would like it to be small sitting/library at some point.. right now it’s open space to stream fitness classes from). This is a room that screams for “art as wallpaper.”
My living room also has an awkward corner that has the only two walls with space for hanging any art in my family/living room, but other than the other video you did (which I also loved), it is very hard to find how to hang and design corner art galleries and they few I’ve found feel too close and congested, other than yours.
These makeovers and explanations are great. Wish I lived close for that afternoon quick makeover! So glad they’ll get to enjoy it with the new baby!