


There is nothing in the world I’d rather do than style a room. I just love the instant transformation! So I’m so excited about my new Colour Rescue series on YouTube! I started this series this Fall and I can’t wait to do more!
Watch these episodes so that when your tree comes down, you’re inspired to experiment with some fresh styling!
Looking for a specific video from Instagram? Here’s a shortcut:
Part 1 | Part 2 – Office | Part 3 – Curtains | Part 4 – Blank Walls
Part 5 – Accessories | Part 6 – Lamps
Part 7 – Colour Balancing Method | Part 8-Styling

Maria hugging her Christmas tree
3 Signs You Need more Lamps in your Living Room
The Colour Rescue that started the series!
This summer I went to Calgary with my Sister Anita and her family and stayed with her friends Josh and Meagan. Since I was staying for a week, I mentioned that it would be fun to do a makeover if they were open to the idea.
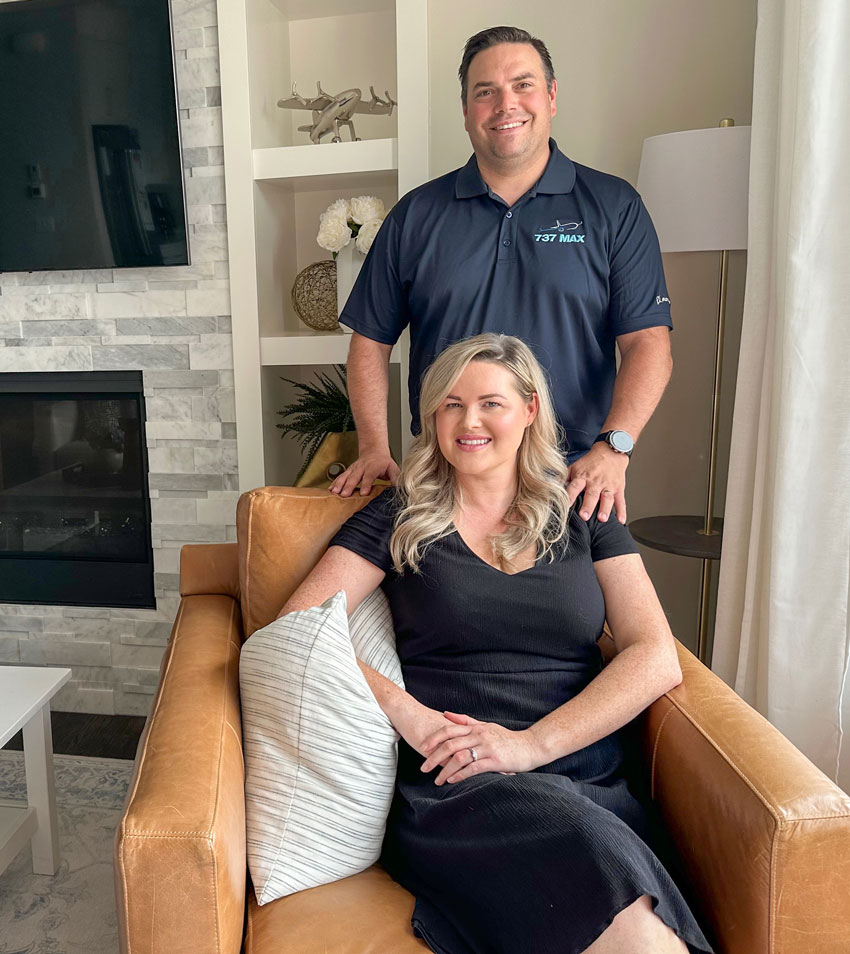
Since there is nothing I’d rather do in this world than style up any room, it turned into an epic five room makeover instead.
My sister Anita came up with the idea to do a reality TV style interview with her friends and that’s when my brand new Colour Rescue channel on you tube was born.
So again, if you’re dreading taking down your holiday decor and feeling sad that the atmosphere created by your Christmas tree lights will soon be gone as well, this weeks post and videos are for you!
Here are the highlights of this first video:
If your dining room table is naked, here is what you can do to style it up. 6:23
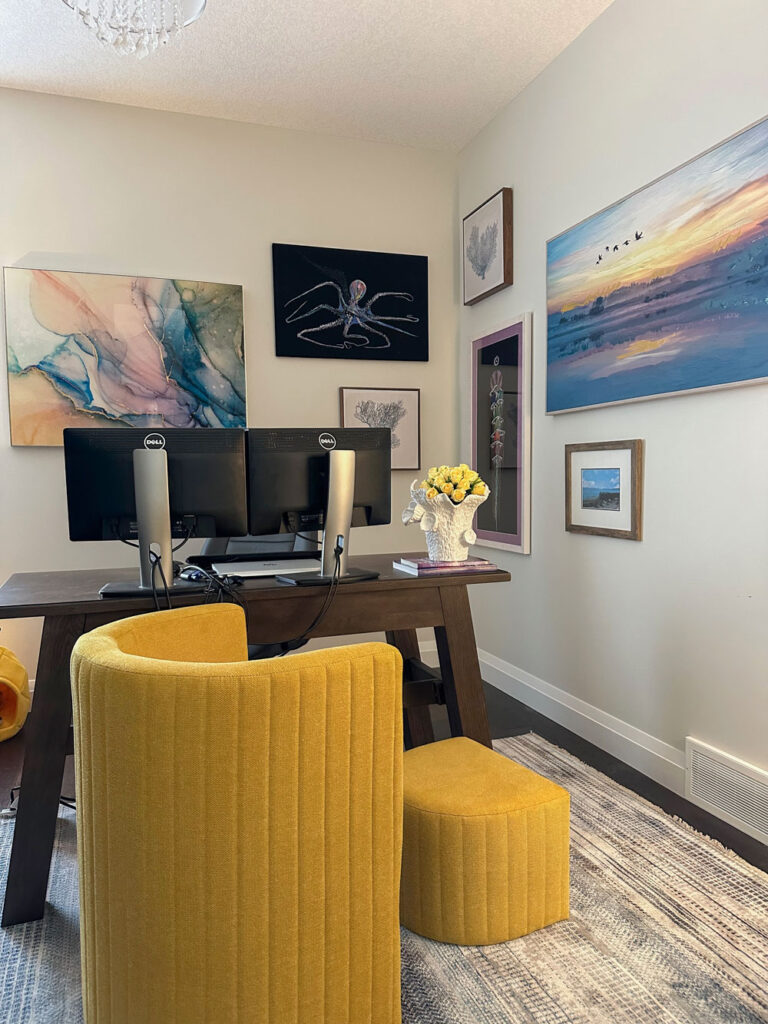
Their home office was the darkest room in the house because of the location in the middle of the second floor, see how we added art and the happiest colour to bring it to life! 6:50
▶️ COLOUR RESCUE: How to style an awkward corner
▶️ COLOUR RESCUE: How styling and colour can rescue a home
The upstairs bonus room needed art, pillows and lamps. The two over scale lamps we found were the best! 7:07
The primary bath came to life with curtains properly installed, a small area rug (NOT just a bath mat) and an ottoman. 7:20
Added better scale accessories to the decorative shelves in her living room. 7:45
Then in September the entire family descended on Edmonton where two of my team members live and Tricia Firmaniuk (my Director of eDesign) joined me for 3 one day makeovers starting with the home of my Customer Service Manager Marla Anderson.
Your guide to styling a room
Marla and her husband were thinking about replacing their sofa and love seat until Tricia and I arrived and styled it up in an afternoon!
This one is fun to watch because we installed it in layers because she had all the basics already and just needed a new rug, lamps and artwork!
▶️ COLOUR RESCUE: How to decorate a room step-by-step
If you’ve ever wondered how important STYLING is to your room, you won’t want to miss this one!
Step 1: We installed the rug (and lamps) and declared it perfect. 2:00
Step 2: then the pillows on the furniture. 2:10
Step 3: the art which we layered behind the TV to make it feel less like THE focal point. 2:37
Step 4: adding the accessories! 3:11
The cutouts in her walls really bothered me, UNTIL the art was installed. Now we can see it from her entry which makes it that much better! 3:25
Then Marla and I did a short Q&A to talk about my thought process behind the colours we chose. 5:04
How to make store bought curtains look custom
I get so many questions about the right way to hang curtains so this video was very popular because my cousin Lea’s space was completely transformed by just the addition of curtains installed correctly on the four skinny windows in her living/kitchen dining area. 1:05
Plus, the most fun transformation here was how the area at the top of her stairs beside the living room went from a space that was nothing but an unusable too large hallway into a styling moment with extra seating. 2:31
The other thing we always include with these makeovers is the price! It doesn’t cost as much as you think to go from ‘meh’ to ‘fabulous’!
▶️ COLOUR RESCUE: The #1 mistake homeowners make when hanging curtains
Stuck on how to Decorate a huge Wall? Think of Art as Wallpaper!
Then my cousin Lea’s daughter Miia was about to go on maternity leave because they were having their first baby! That’s why we were all in Edmonton in the first place to attend her baby shower!
After I went to her place, she agreed to get a few ‘pillows’. 1:12
See the before and afters here. 2:51
Of course I managed to get a lamp on the kitchen island. 3:10
My best tip for collecting a wall of artwork is here. 4:21
▶️ COLOUR RESCUE: How to warm up your modern farmhouse with colour and art
7 Lamps came to the rescue in this small lake house living room
My friends Gail and Casey built their retirement home right on Cultus Lake in British Columbia and all that was left to do was add some lamps and style their living room.
Their dining area felt cramped so I solved this by removing some chairs. 1:45
Here are some tips that you need to know when shopping for an area rug. 2:33
See the before and afters here. 6:29
See how I styled the kitchen at 7:17.
Then I had a moment with Gail about the art I wanted to hang in between her two windows where I had to get a little bossy but charming. Luckily it worked because she loved that now she had something to look at in the evenings when the large view windows were covered by the roller shades which created a blank wall 7:23
▶️ COLOUR RESCUE: Lake inspired living room style
How to Decorate that Neglected Spare Bedroom
Then we went to Dallas for my two day Expert Colour & Design Training and two of my followers reached out for a makeover. For Rhonda who had been following me for years was able to turn a spare bedroom into a space where she could work on the days she worked from home!
William Morris decor is currently trending and when we found the bedding, and then the art that pulled it all together the room came to life with so much colour it was fabulous! 2:30
See the before & afters here 3:17.
By the way I have switched up the format of my colour training workshops, the virtual ones are now focused on the homeowner so if you want to create a vision for your renovations or new build from the comfort of your own home (so your spouse can attend too!). Register here.
My next live workshop will be in Chicago in May, anyone can attend that course as well, however it will be focused for the design professional. Register here. First 20 registered receive a FREE VIP ticket ($300 value)
▶️ COLOUR RESCUE: Tips for decorating and styling a small room
How to add colour to your neutral room (even if it’s just another neutral)
After
This makeover went from “We need our primary bedroom to feel like a sanctuary” to me saying “But what about your living room and dining room where you spend the most time?”
So many of you said this was the best makeover yet because we used green as an accent colour which felt more neutral for a lot of people. 5:44
See the before and afters here 6:18.
We didn’t have time to add curtains but I talked about which colour they should be and photoshopped them in for you. 9:42
Here we arrived home with lamps that were too small for the bedside tables so we switched them out for bigger ones. 11:15
▶️ COLOUR RESCUE: Lean in to your accent colour (without painting your walls)
It’s also an excellent example of my Colour Balancing Method™ which is a simple formula for decorating a room with colour. Learn it here and here.
If you live in the lower mainland and have a room that has the basics but just needs styling, art and accessories, I’d love to help with a one-day colour rescue makeover! It’s just my Sister and I with our iPhones, the interview is super easy to do at the end. Plus you’ll be so happy with your new room, you’ll barely notice the camera 🙂 Go here to apply.
Related Posts
5 Lamps Everyone Should Have in Their Home
Two Cures for the Post Holiday Blues (Hint: It’s Not What you Think)
How to Style a Vignette in 5 Easy Steps

Love how in the first video you’re not afraid to poke a little fun at yourself! You certainly have a way of making basic rooms look much better, although some of those choices are so not my personal style they make me cringe. But still an improvement over a completely undecorated house.
While I agree lamps are necessary in homes that were not designed with great lighting (as most aren’t), I just really am not a fan of them like you are. For one thing my style is much more about clean lines, and to me, many of those rooms look cluttered with all these lamps and accessories. I also hate lamps taking up space on nightstands, not to mention you often need the light over the bed, not over the nightstand. Just yesterday I mounted swing arm lamps over my bed and removed the nightstand lamps, and I’m soooo much happier. It is not only 100% more functional but it looks so much more streamlined. Where I do lamps, I usually prefer sculptural floor lamps.
I also understand how as a designer, when you encounter people with no accessories you have to bring them in in bulk. And that most clients are not designers and have no idea what to do themselves. But I really am the complete opposite on that front too. Every item on my shelves is hand made by me or another artist, or was purchased on a trip somewhere, or is something I otherwise love. My earlier homes were styled like your examples, but as I came to appreciate handmade art, and as I got older, I want to surround myself with things that I personally choose out of love and my own sense of style.
Thank you thank you thank you! Yesterday we hung 7 pet portraits together, treating the corner walls as 1 wall. Voila! Finally they have found their place in our home, and now I can hang all the collected flower art in the guest bedroom. This was so successful I shared photos of the gallery walls with the artist and she thought it lovely and said she felt honored.
We used the craft paper method on the walls, then for actual margins between pieces I laid them out on a plain duvet on a king size bed. Took photos of different versions and it was then obvious which version to use.
Also wanted to tell you we have 8 lamps in our great room with 2 hanging lights on dimmers. My goal in most rooms is to be able to have at leat 5 different lighting modes.