My large painted colour boards are such an important guide for choosing colour, that I’ve decided to show you how to make them.
But you can save yourself some trouble and buy my curated collection of large painted colour boards here. They are reusable and portable so you can move them around the room and easily place them next to your sofa or countertops without the annoying peel and stick application. #justsayin
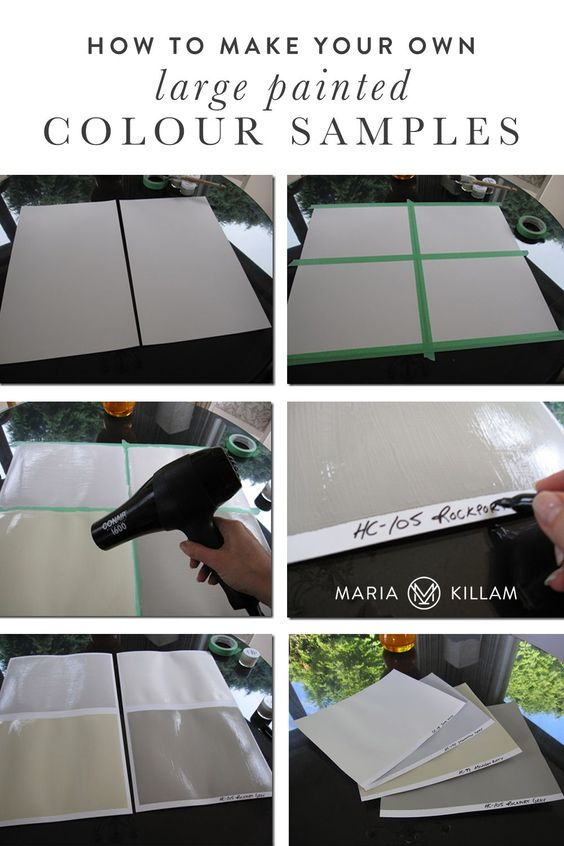
How to MakeYour Own Large Painted Sample Boards
Directly on my glass dining table:

First you need a poster board (above).
This one is already cut in half because I’m going to paint 4 colours on it but if you are painting one for your own testing purposes, better to at least paint the entire half of the board. The bigger the better.

Take some green painters tape and tape it all around. To save on tape I left the 4 outside edges—I’ll cut them off anyway.

Here I am drying them with my blowdryer to speed up the process.
I used to use little rollers, but they only last for maybe four times and then I have to throw them out so now I just use a paint brush.
They dry way quicker.
Wash out the paint and then shake it until you don’t see any more water, then it’s ready for the next colour.

Here’s the finished paint sample with the second coat still drying. I’ve taken the tape off (better to do it before it dries so it doesn’t start taking the paper with it!) and now I’m writing the colour names and number on the bottom of each.

And here they are the next day (below). They need to cure for two weeks before you stack them all up and stick them in my sample bag (otherwise they will surely stick together stored in your hot car).
Pin this for later:
But once they are cured, you can keep them in your car in any weather.

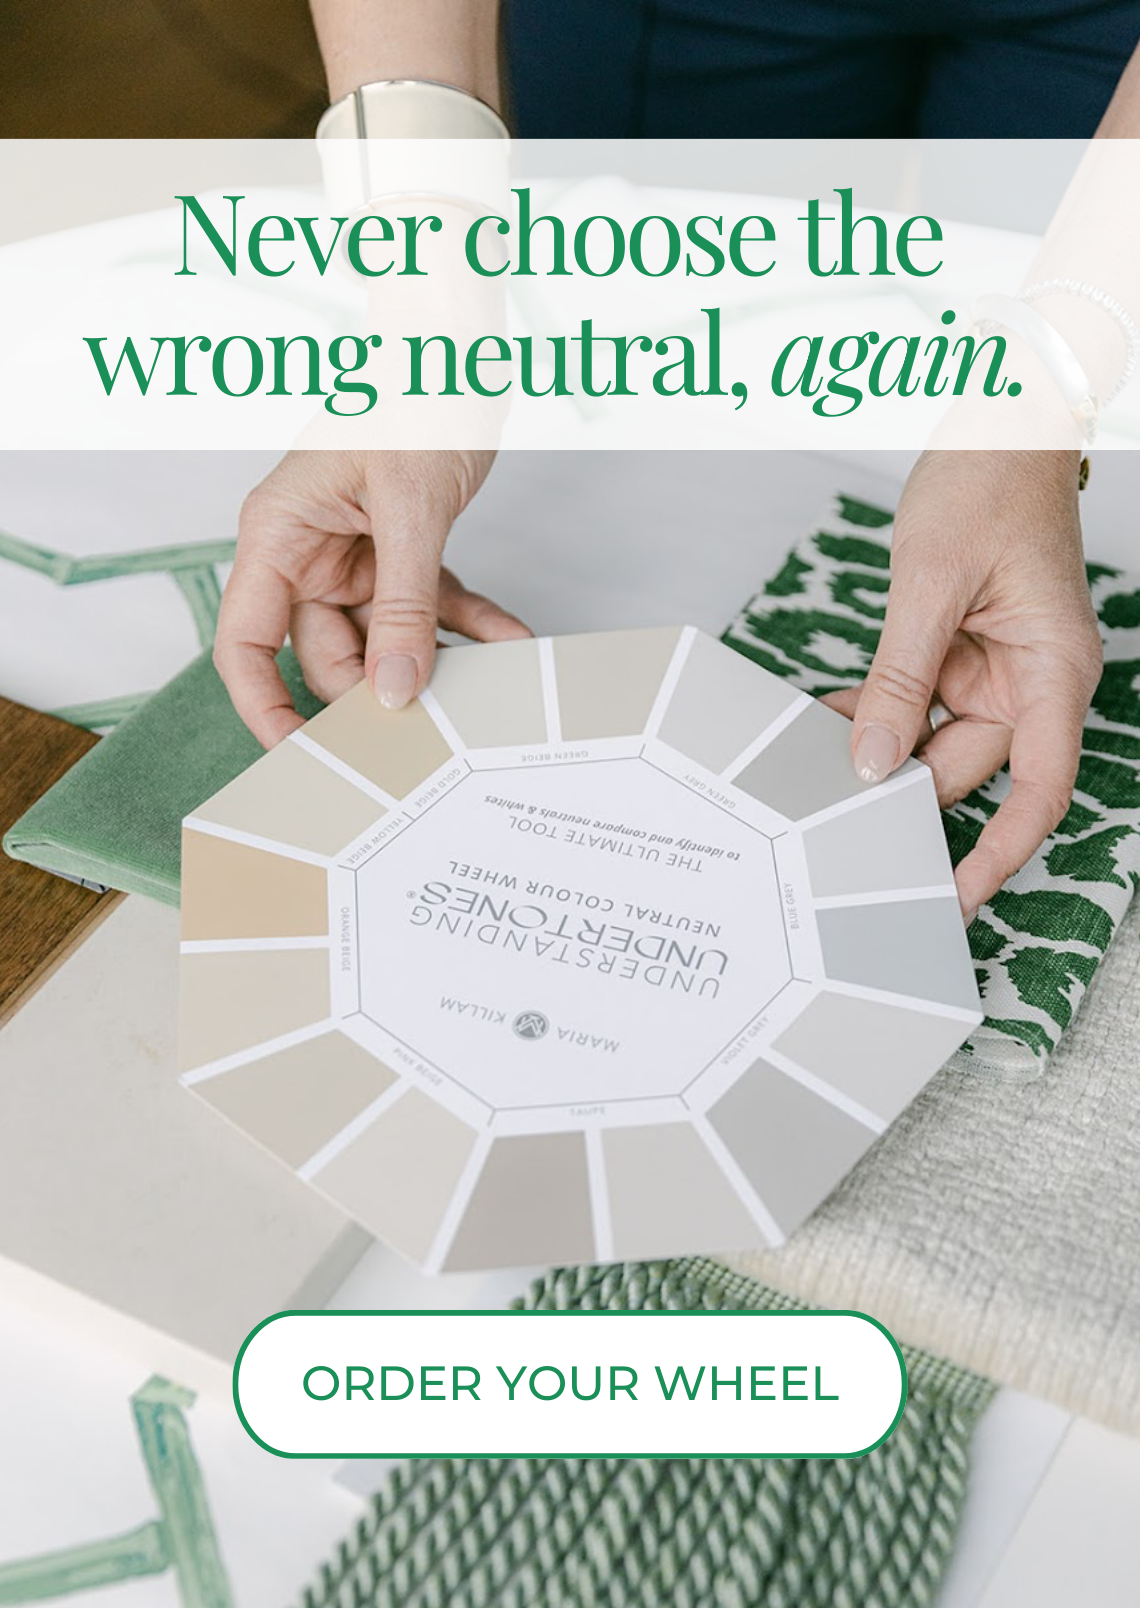
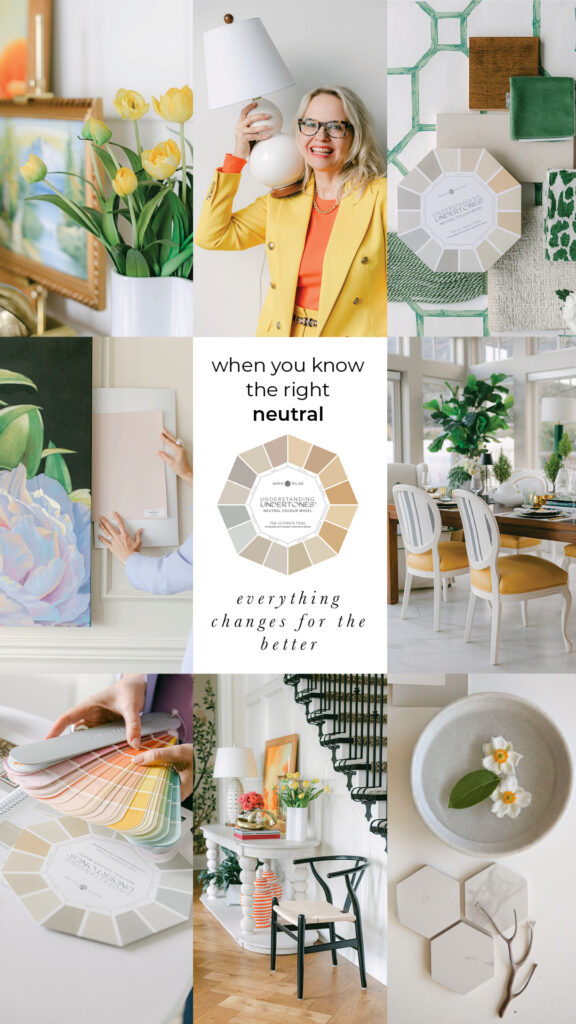
So, just relax about knowing every single colour already. 🙂 Because now you know you only need to the most useful neutral colours in your tool kit.
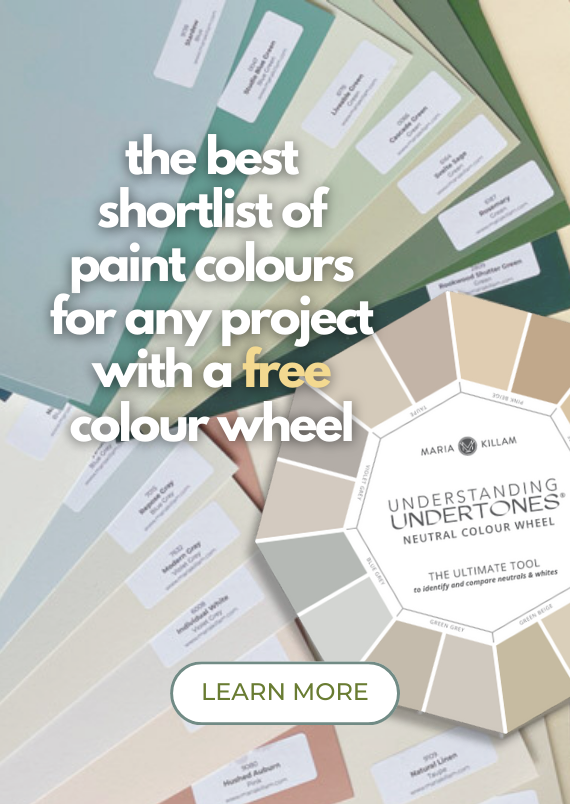
All you really need for colour confidence is my curated collection of best neutrals and whites, click here to find out how you can buy your very own set. I’ve already done the hard work for you!
** The cost of each sample works out to approximately $6.00 each. To paint your own costs $12.00 each. A paint tester sample costs $9.99 never mind the time and cost of poster boards, rollers etc. to make up your own. It took me 2 hours to paint 8 samples.
I promise my large painted colour boards are way cheaper and easier than painting them all up individually!


I have your color boards and they are SO worth it! I have a question about the type of boards to use. I was at the training about a year ago in the bay area and I remember Terreeia saying they need to be coated with something specific- can you tell me what that was? I want to be able to make samples of boards the same size as yours for colors I use frequently. Thank you!
Wow! People ask question and won’t get answers. Links lead to nowhere.
This site is purely for generating money.
Very disappointing.
Hi Maria,
Very helpful blog! I have a general question about testing samples against a white background. Which poster boards could you recommend for testing samples?
Thank you!